Lanterns - light bowls made from beeswax
Preparation time: several hours depending on the number of pieces - Difficulty level: easy
- approx. 2 kg beeswax (or leftover candle wax)
- 6 round balloons
- cold water
- baking paper
- 1 pot each for the water bath and 1 smaller, but larger one for the wax
- wooden spatula for stirring
- scissors/knife
- adhesive tape or Tesa
- optional: Colored wax scraps or beeswax crayons to color the light bowls
- Tea light or LED tea light

These atmospheric light bowls are very easy to make yourself and their warm light is not only a delight at Christmas time. In the darker seasons, you often have a few leftover candles that you can now use for a new design or you can use our wonderfully fragrant pure beeswax pastilles directly.
Tip for the melting pot: make sure you use containers that you no longer use, as the wax residue is difficult to remove.
How to do it step by step:
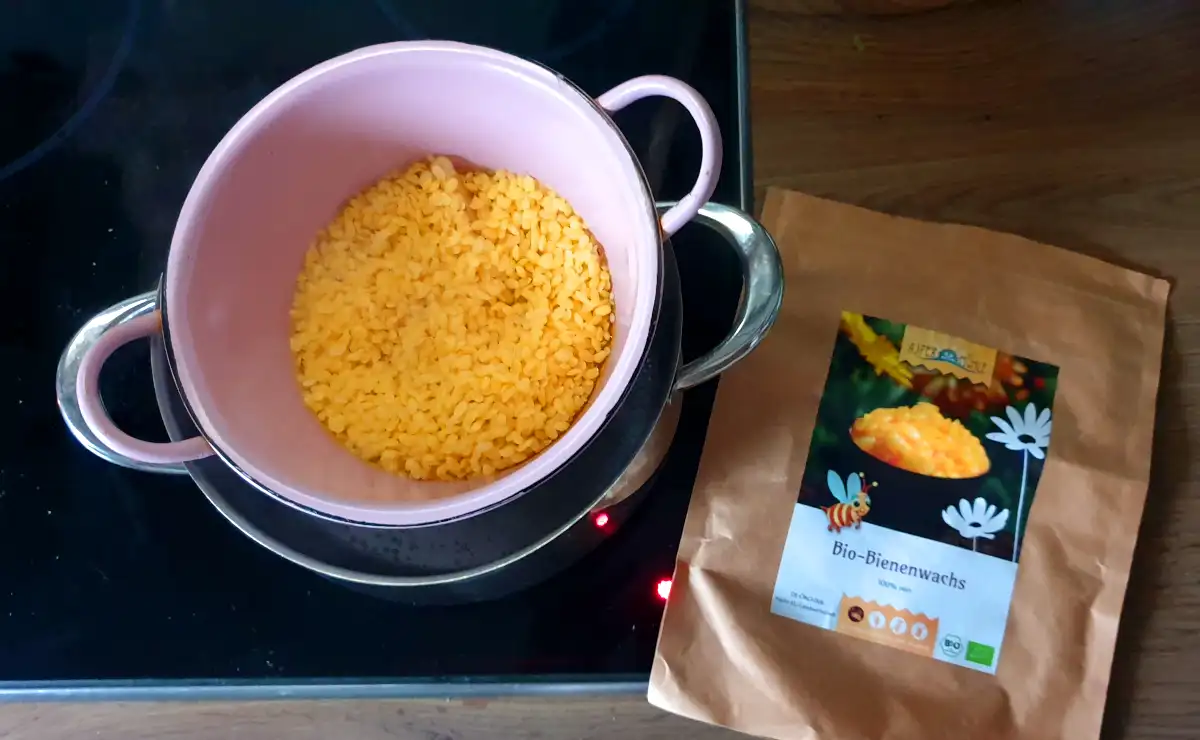
1. Melt the wax:
Gradually melt wax pellets or candle wax residue in the smaller pot in the water bath of the larger pot (make sure you don't have too much water in the large pot, no water should get into the wax pot).
The wax must not boil and it will go faster if you stir it. However, you will need a little patience - depending on the amount of wax, it will take around 30 minutes. Enjoy your meditative activity and think of the hard-working bees that collected the light for us in summer. :)
When the wax has melted, line the immediate area with a sheet of baking paper. This will prevent wax dripping where it shouldn't be and you will need it as a place to put the wax lights between dips.
Allow the melted wax to cool slightly, around 60-70 degrees is ideal for dipping.
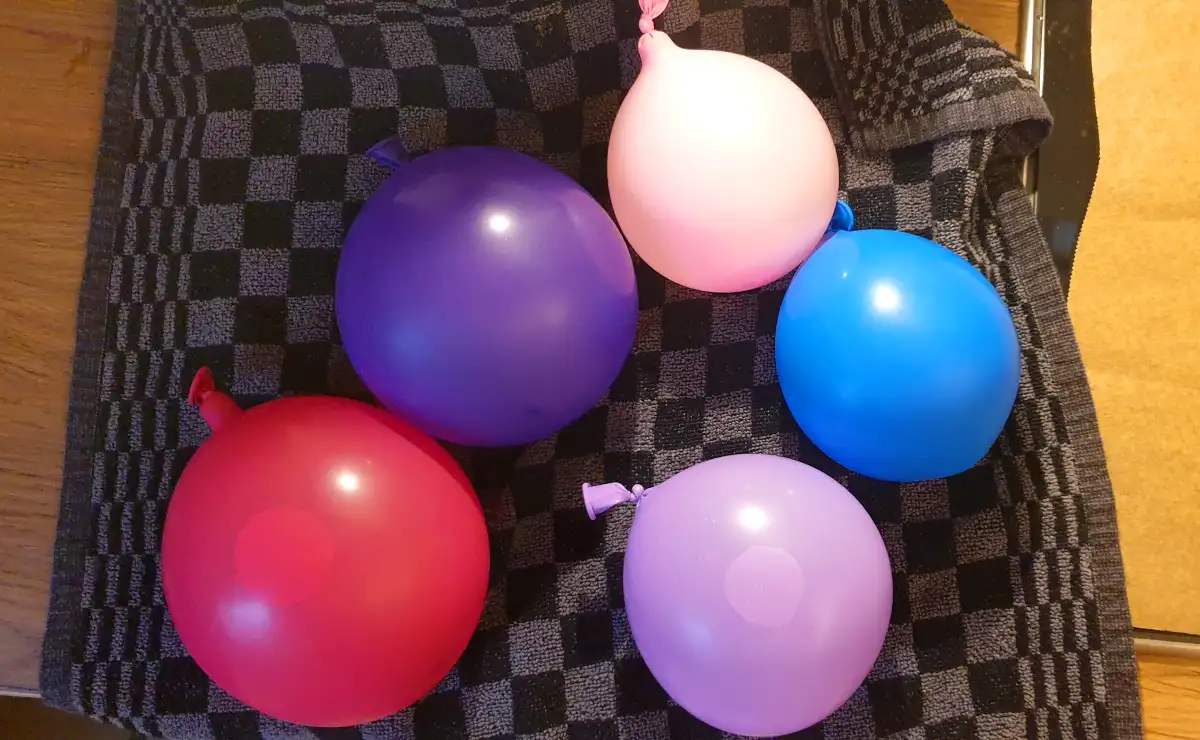
2. prepare the balloons:
Carefully fill the balloons with cold water at the tap until they are the desired size. Don't let them get too big, as they still have to fit into the pot and otherwise risk bursting.
Tie them in a knot and be sure to dry them well on the outside, otherwise the wax will not hold
3. coloring:
If you want to dip colored light bowls, rub in the desired color using wax crayons or simply melt colored candle remnants.
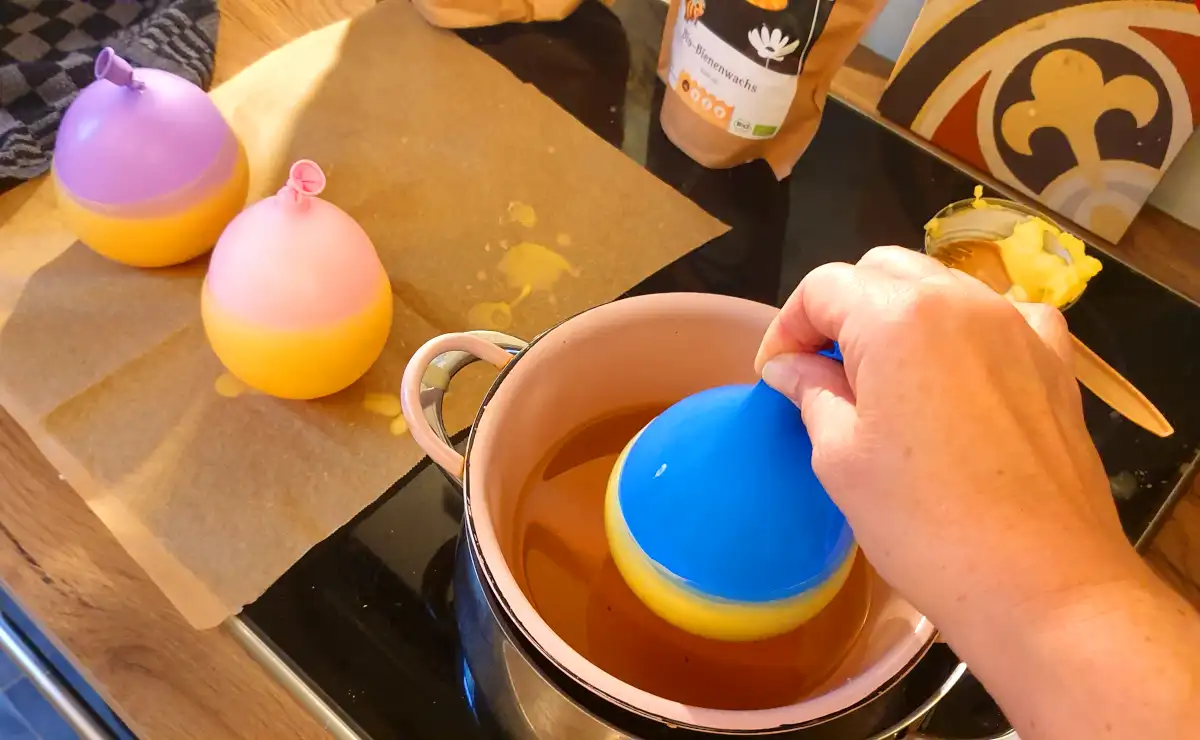
4. dipping:
Now hold the balloon by the knot and carefully dip it briefly into the liquid wax several times (5-6 times) - lift it up, allow it to dry briefly, then dip it in again.
Then place the balloon on the baking paper and press gently from above to create a flat surface on the bottom.
Repeat this dipping process 4-5 times so that you have a total of approx. 25-30 dips.
Add pellets to the pot from time to time and melt, depending on how many light bowls you want to dip
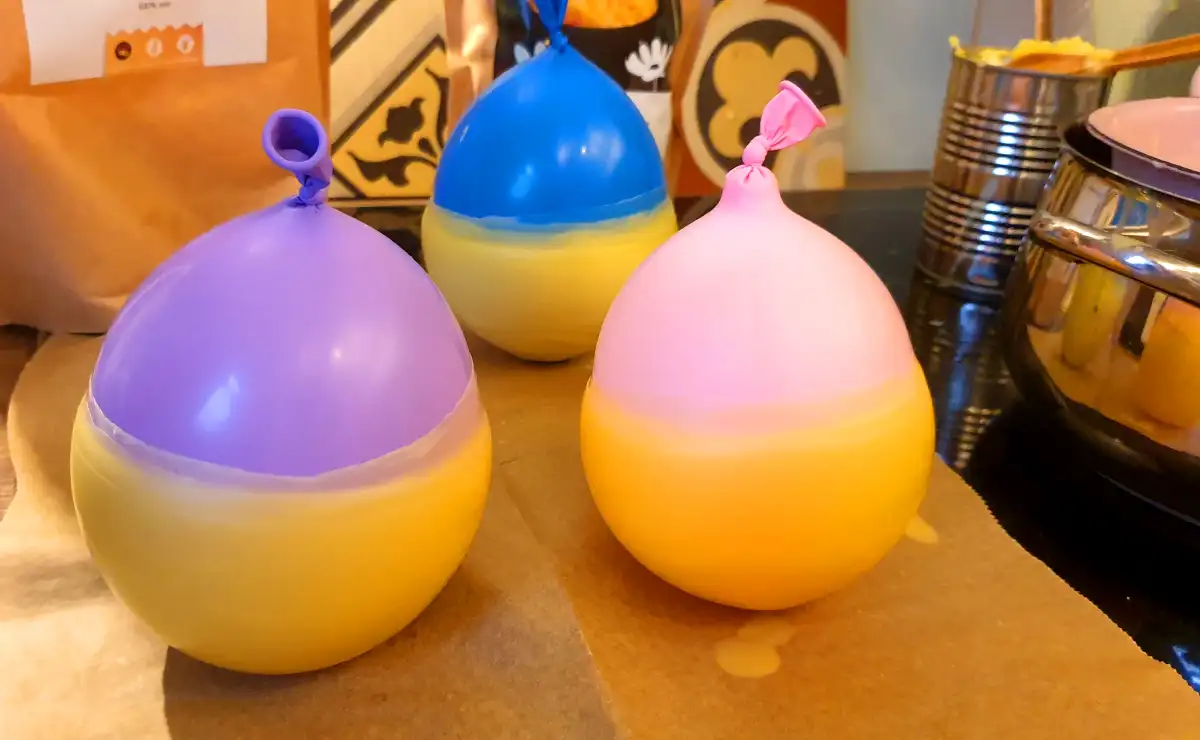
5. Hardening:
Finally, leave the wax bowl to cool well on the baking paper for at least 15 minutes.
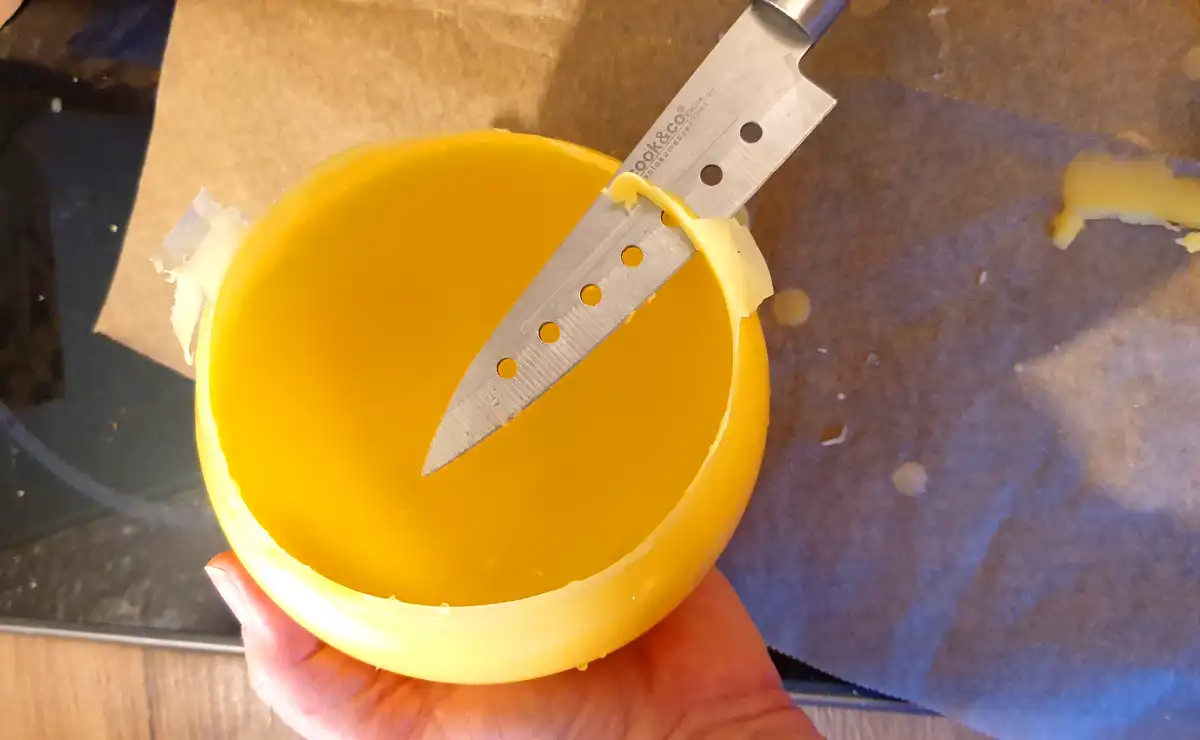
6. remove the balloon:
Stick a strip of adhesive tape or tape on the balloon and cut into it with a knife or scissors and let the water run out over the sink.
7. finish:
If necessary, cut the top edge straight with a warm knife or simply leave it as delicate as you like.
You can use a nice beeswax tea light, preferably in a glass spout, or place an LED tea light inside.
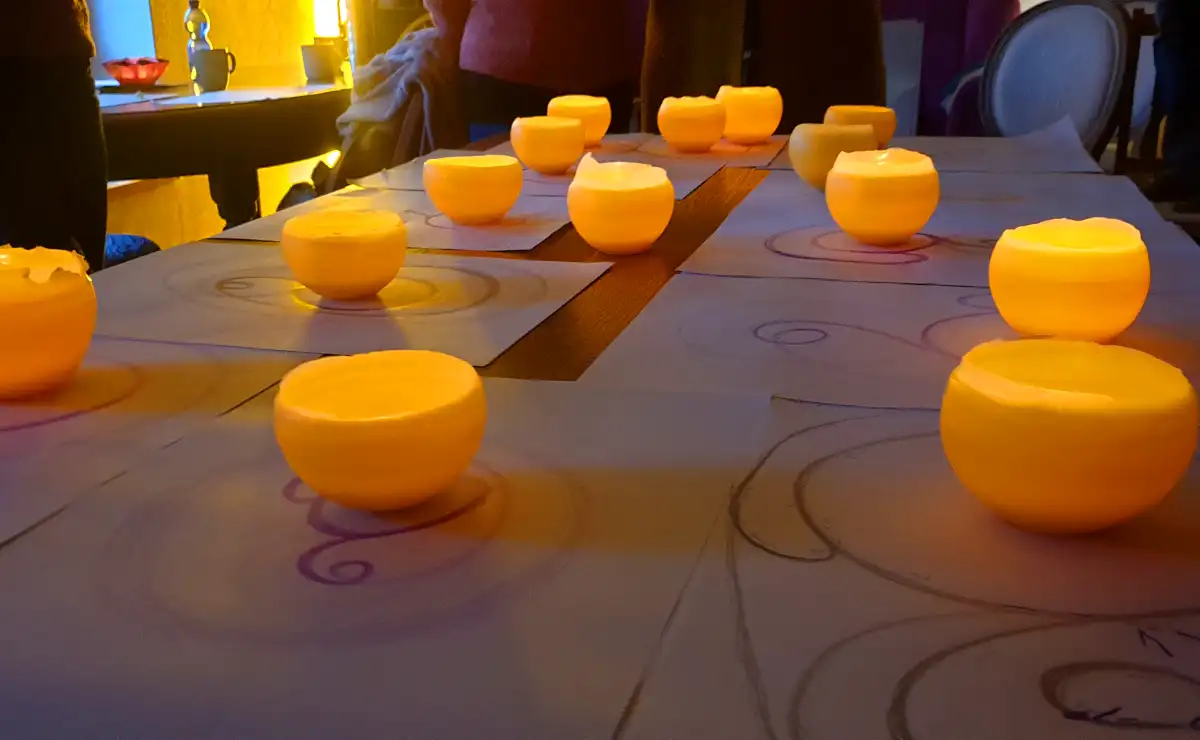
We wish you lots of light and warmth for the dark days!